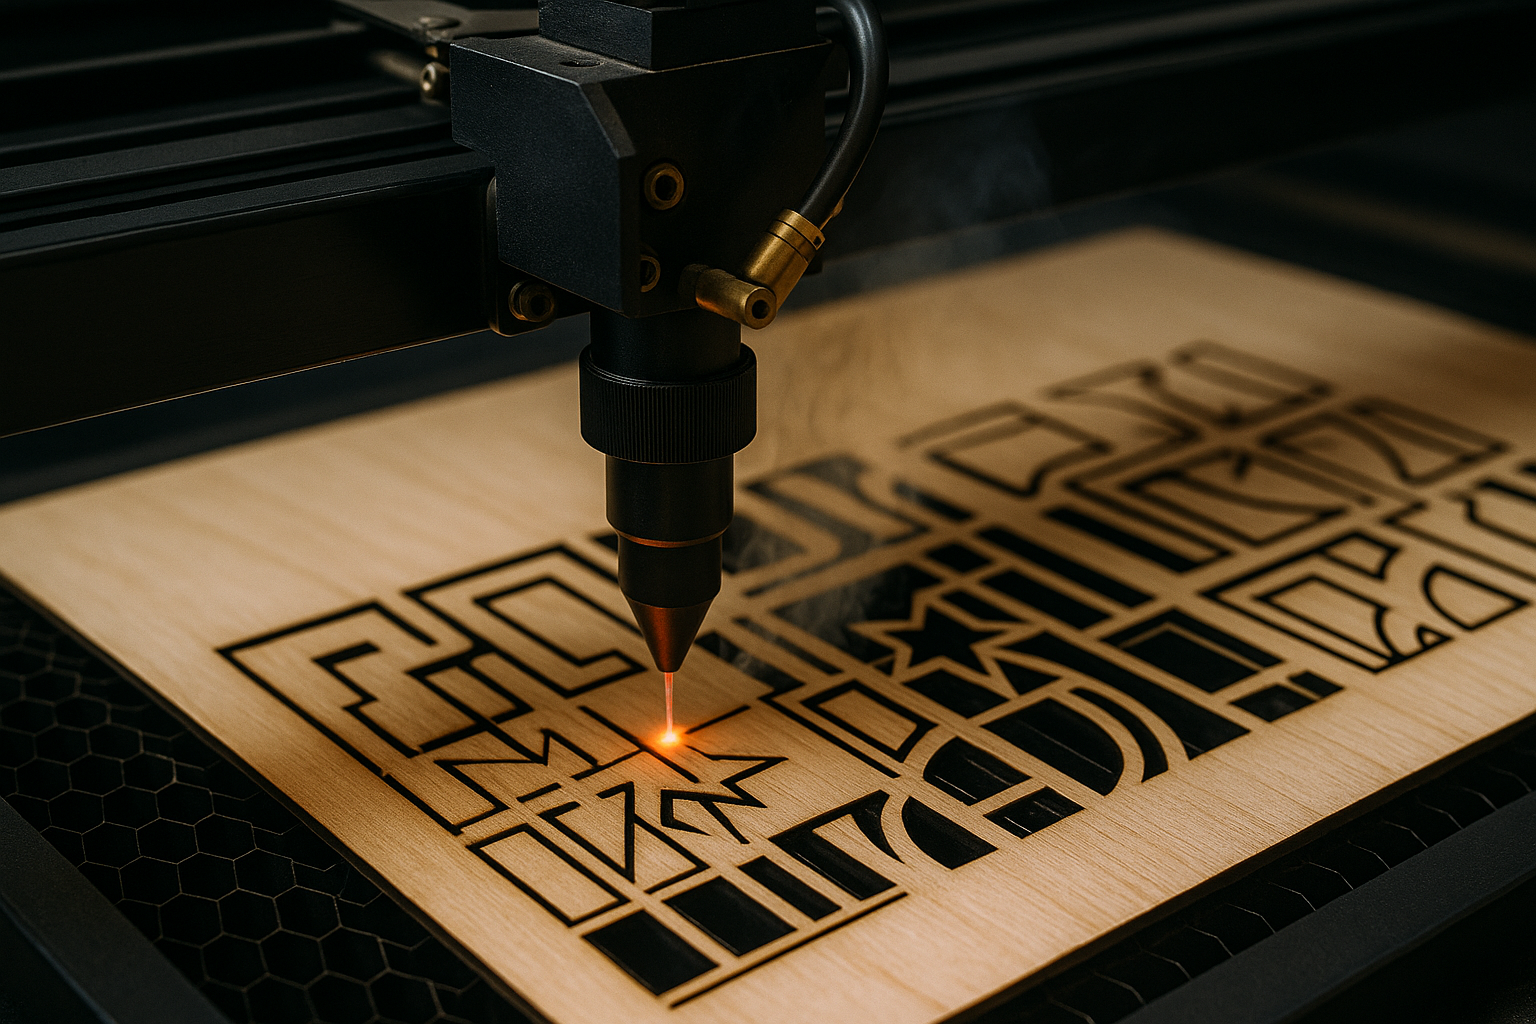
What is a Laser Cutting Machine?
A laser cutting machine is a tool that uses a high-powered laser beam to cut, engrave, or mark materials with extreme precision. It’s widely used in manufacturing, arts and crafts, prototyping, and industrial design.
Steps to Use a Laser Cutting Machine
1. Choose Your Material
Start by selecting the type of material you want to cut or engrave. Common choices include:
- Wood
- Acrylic
- Cardboard
- Leather
- Metal (for industrial-grade machines)
Note: Always check your machine’s supported materials and thickness limits.
2. Create Your Design
Design your cutting pattern using vector-based software such as:
- Adobe Illustrator
- CorelDRAW
- Inkscape (free)
- AutoCAD (for advanced precision)
Export your design as a file type your laser cutter supports, commonly .SVG, .DXF, or .AI.
3. Prepare the Machine
- Turn on the laser cutter.
- Place your material on the cutting bed, making sure it’s flat and secure.
- Focus the laser manually or automatically (depending on your machine model).
4. Configure the Settings
Input key parameters into the laser software:
- Power: Higher for thicker or denser material.
- Speed: Slower for deeper cuts, faster for engraving.
- Frequency (PPI): Adjust for how frequently the laser pulses.
Every material requires different settings, so always test on a scrap piece first!
5. Start Cutting
Once everything is set:
- Import your design into the laser software (like RDWorks or LightBurn).
- Preview the cutting path.
- Hit the Start button and let the machine do its job.
Always stay nearby while the machine is running for safety and quality control.
6. Finishing Touches
After cutting:
- Remove the material carefully.
- Clean off any burn marks with a cloth or sandpaper (if necessary).
- Assemble or use your finished piece!